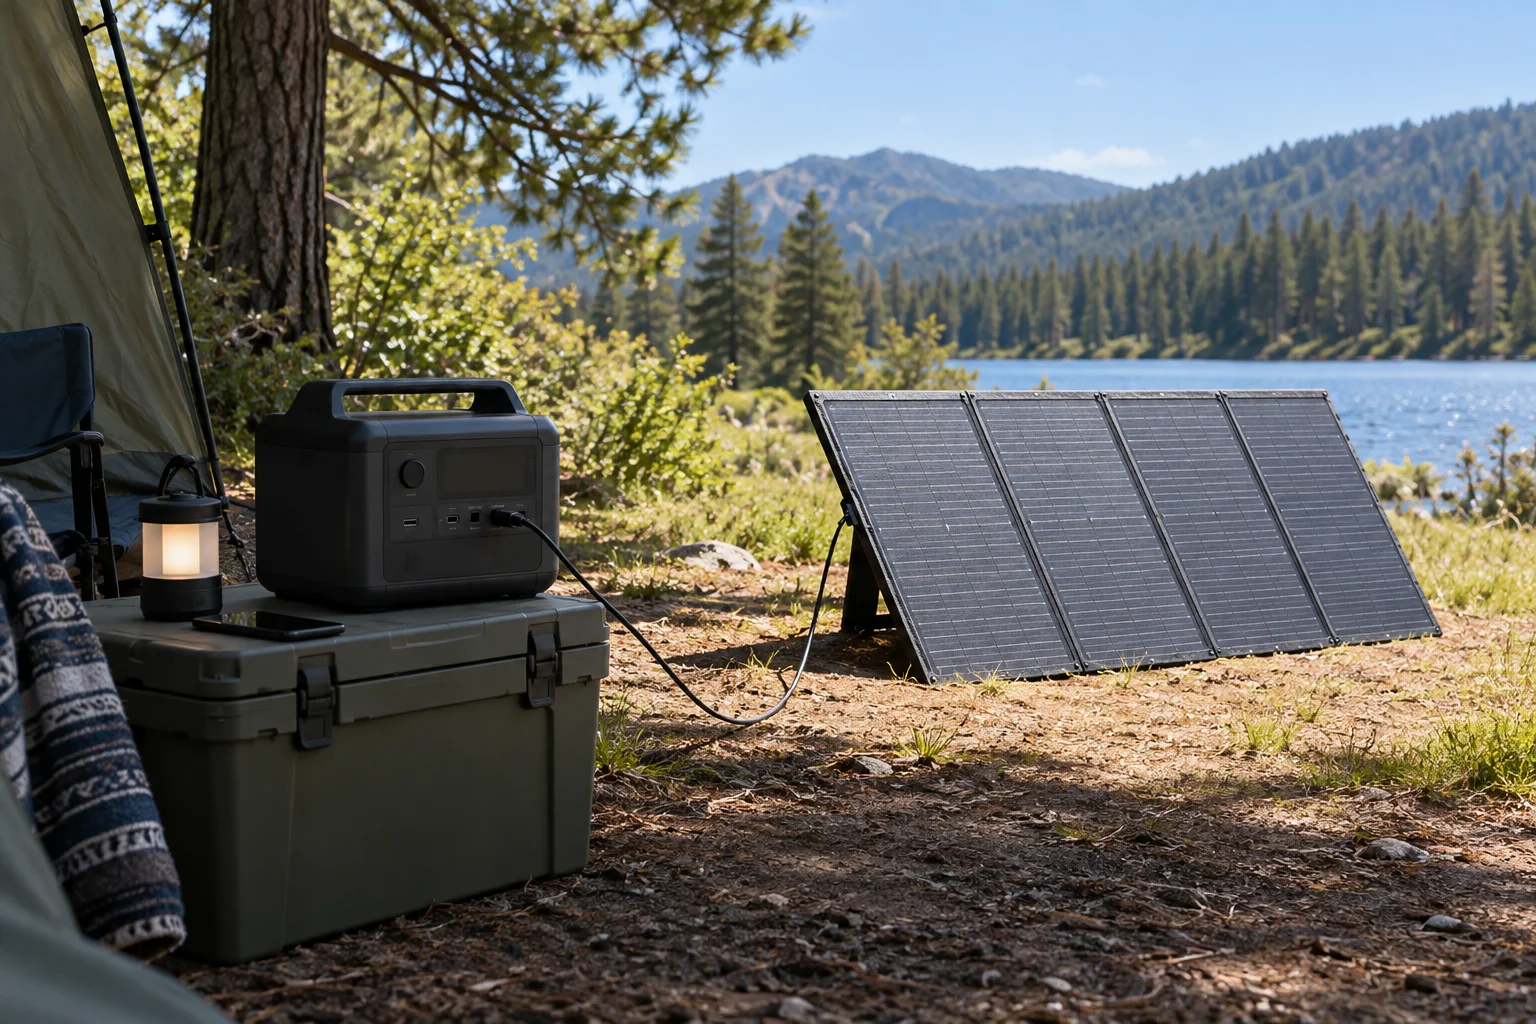
The short answer
To charge a portable power station with solar panels, confirm that the exact model accepts solar input, check the panel array against its voltage, current and wattage limits, then connect the approved cable to the marked PV/DC input. Place the panel in direct, unshaded sun and confirm that the station reports incoming solar power. Charge time changes with sunlight, panel angle, shading, temperature, the station’s input ceiling and its battery-charge behavior.
Example station: Bluetti Elite 100 V2. Accepts up to 1,000 W of solar input (12–60 V, 20 A) for its 1,024 Wh battery. Check your panel array’s voltage and current against those input limits.
Start with the power station manual
| Station specification | What to find and compare |
|---|---|
| Solar / PV input range | The allowed DC voltage range at the exact solar input port. |
| Maximum open-circuit voltage (Voc) | The panel array’s Voc must stay within the manufacturer’s stated limit. Temperature can change panel voltage; use the manual’s guidance and leave its required margin. |
| Maximum input current | Check the panel or array current against the station’s permitted current and the stated wiring method. |
| Maximum solar input watts | This is the station’s accepted-power ceiling. More panel nameplate watts do not guarantee a faster charge. |
| Connector and polarity | Use the supplied or manufacturer-approved cable, with the correct plug and polarity for that model. |
Some manuals publish an operating voltage window, a maximum Voc, a current limit and an input-wattage limit separately. Check each one; meeting only the wattage figure is not enough. A station may not accept solar at all, even if it has other DC ports.
Match the panel array—not just one panel
For a single panel, compare the panel label and manual with the station’s input range. When combining panels, the wiring arrangement changes the electrical values: series connections add voltage, while parallel connections add current. Mixed panel models or improvised adapters can make a setup harder to verify.
| Connection | What changes | What to verify |
|---|---|---|
| Series | Panel voltages add; the string current is limited by its panels. | Total array Voc, including the manufacturer’s temperature guidance, stays below the station limit. |
| Parallel | Panel currents add; array voltage stays near the panel-string voltage. | Combined current and the station’s input-current limit, cables and connectors. |
Do not infer a safe panel count from a generic “12V panel” label. Use the electrical values on the panel data sheet and the station’s documented PV input range. If the proposed array needs fixed wiring, a roof installation or equipment outside the station’s plug-in instructions, have a qualified solar professional review it.
A careful connection sequence
- 01Identify the exact model. Read the current station and panel manuals, including their cable and temperature instructions.
- 02Check every electrical limit. Confirm PV voltage, array Voc, current, maximum input watts, connector and polarity. Do not rely on a retailer bundle title.
- 03Set up the panel. Place it on a stable surface in clear sunlight, away from shade and trip hazards. Keep the station itself within its stated operating environment.
- 04Use the documented cable path. Connect only through the marked solar input and the included or approved cable. Do not improvise adapters or add a separate controller unless the manufacturer explicitly requires that setup.
- 05Confirm the station is charging. Check its display or app for PV input. If the reading is zero or unexpectedly low, disconnect and troubleshoot using the manual rather than trying a different port.
Estimate charging time without promising a number
A useful first-pass estimate is:
For example, if a station needs 600 Wh and the display shows an average 200 W of solar input, the simple division is about 3 hours. This is arithmetic, not a real-world promise: solar input moves throughout the day, conversion and charging losses matter, and many stations reduce charge power as the battery fills.
Use the station’s live input reading when available, and plan extra daylight rather than assuming the panel will deliver its nameplate wattage continuously. The runtime calculator can help plan the energy needed for your loads; it does not predict solar harvest.
If the station is not charging
| What you see | What to check first |
|---|---|
| No PV input | Solar support is enabled for the model; correct input port; cable seating; connector and polarity; operating temperature. |
| Input is much lower than panel rating | Cloud, shade, panel angle, heat, cable path, station input cap, battery state and any configured charge limit. |
| Charging stops and starts | Intermittent shade, loose or incompatible connections, temperature protection, or the station’s charge settings. |
| One panel works but the array does not | Series Voc or parallel current, connector wiring and whether that exact combination is permitted by both manuals. |
Panel nameplate watts are measured under specified test conditions. Outdoor conditions and the receiving station can reduce the power actually accepted. Do not bypass protection or keep retrying a setup that trips an input fault.
Solar charging safety checklist
- Keep the station and electrical connections dry unless the manufacturer specifically rates them for the conditions; a portable panel’s weather rating does not automatically apply to the power station.
- Do not exceed PV voltage or current limits, reverse polarity, force connectors, open the station, or modify its battery or charge controller.
- Follow the manual’s instructions for connecting, disconnecting, operating temperature, ventilation and storage.
- Keep cables secured and out of walkways. Reconfigure multi-panel wiring only as the product manual allows.
- Use a qualified electrician or solar installer for rooftop arrays, fixed wiring, transfer equipment or any connection to household circuits.
Frequently asked questions
Can any solar panel charge a portable power station?
Will a 200W solar panel always deliver 200W?
Should I wire panels in series or parallel?
Do I need a separate MPPT charge controller?
How long will solar take to charge a power station?
Manufacturer references
Use these as examples of model-specific instructions, not as universal wiring recipes: EcoFlow DELTA Pro 3 user manual discusses PV voltage limits and panel-array checks; Jackery’s third-party panel guidance requires checking Voc, current, connector and model compatibility; and EcoFlow’s panel-wiring instructions illustrate why series and parallel configurations must be checked against the exact equipment. Manuals checked September 29, 2026.
Planning guide · United States context · Updated October 24, 2026. Product lines, firmware, port standards and manufacturer limits change; verify the current manual before buying or connecting a load.