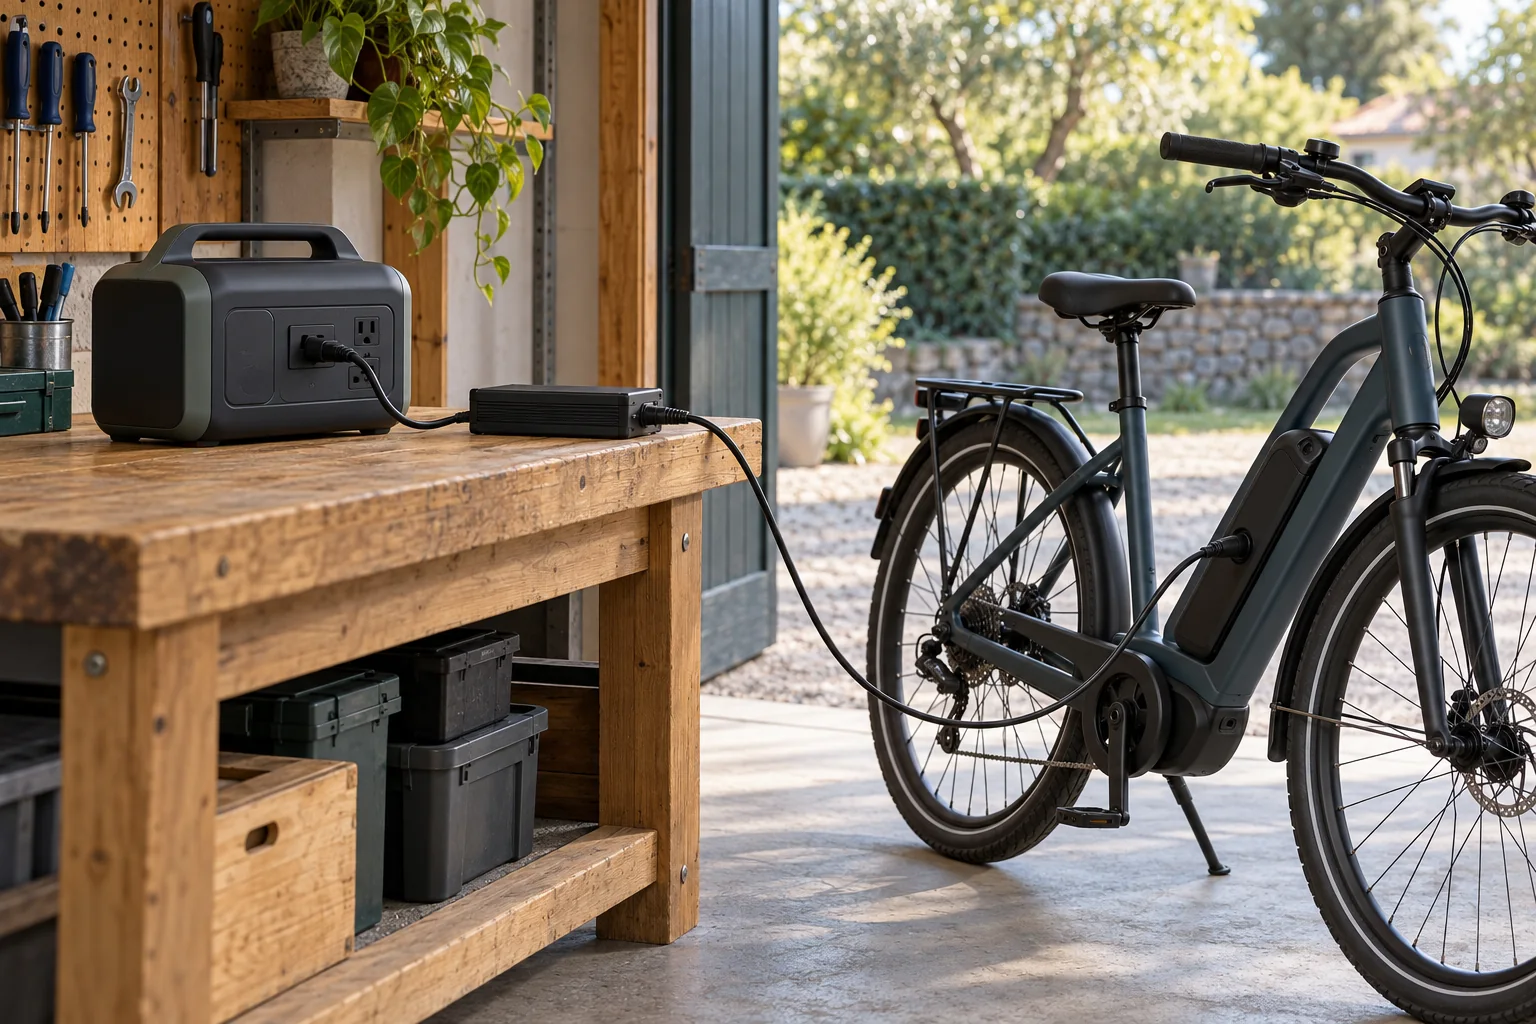
Quick sizing example
For a 500 Wh e-bike battery, one empty-to-full refill works out to roughly 741 Wh of nominal power-station capacity under the planning assumptions used below. A refill from 20% to 100% works out to about 593 Wh. Neither number guarantees a successful charge: charger compatibility, operating conditions, losses, and reserve capacity still matter.
Here’s how to choose a portable power station for ebike charging without confusing motor watts, charger watts, and battery watt-hours.
Fits this load: Bluetti AC180. 1,152 Wh battery, more than the ~741 Wh of nominal capacity this page’s example needs for one full refill of a 500 Wh pack, and 1,800 W AC output for the charger.
Start with the charger and battery labels
Gather three pieces of information before comparing stations:
| Information | Where to find it | What it decides |
|---|---|---|
| Charger AC input voltage, frequency, and power or current | Charger label and manual | Whether the station can supply the charger |
| E-bike battery capacity in Wh | Battery label or bike specifications | How much energy a refill needs |
| Intended refill and number of batteries | Your trip plan | Total energy to budget between station recharges |
Watts, or W, describe power at a moment. Watt-hours, or Wh, describe energy over time. A steady 100 W load running for two hours uses 200 Wh. The U.S. Energy Information Administration explains this distinction.
A bike’s 750 W motor rating doesn’t establish its charger’s AC demand. The motor uses energy while riding; the charger replenishes the battery while parked. Likewise, a station advertised as “1,000 W” still needs a separate Wh specification before you can estimate refills.
If the bike lists only nominal voltage and amp-hours, multiply them for an approximate capacity: 48 V × 14 Ah = 672 Wh. Prefer the manufacturer’s published Wh figure when available. Use battery nominal voltage for this calculation, not the charger’s output voltage.
Choose enough continuous AC output
Use the charger’s stated AC input watts, if provided. Don’t substitute its DC output rating: that describes power leaving the charger, before accounting for its own losses.
For example, a hypothetical charger labeled “Output: 42 V DC, 4 A” has a rated DC output of 168 W. That calculation alone doesn’t tell you the required AC input wattage.
If the input label lists volts and amps, multiplying them gives volt-amperes, or VA. AC real power also depends on power factor, so 120 V × 2 A = 240 VA, not automatically 240 W. A maximum-current label also isn’t a measurement of normal charging demand. Fluke’s explanation of power factor distinguishes real power in watts from apparent power in VA.
When watts aren’t stated, ask the charger manufacturer for its input-power and inverter requirements. A properly rated plug-in energy meter can help measure normal charging watts and session energy if the manufacturer allows that connection. A steady reading doesn’t establish startup demand or override an inverter requirement.
Compare those requirements with the station’s continuous AC output, outlet current limits, and any stated VA limit. Add other simultaneous loads. Leave operating headroom instead of choosing a station that just equals the expected load; the amount should follow the equipment makers’ guidance.
A useful example: Rad Power Bikes’ RV guidance calls for an inverter of at least 350 W for one battery and specifies pure-sine-wave AC. That is a Rad recommendation, not a universal minimum for every e-bike. A smaller measured charger load would not cancel it.
The portable power station wattage calculator can help organize simultaneous loads once you have the correct input figures.
Check voltage, frequency, waveform, and charger compatibility
For a US setup, check that the station’s AC output matches the voltage and frequency accepted by your exact charger. Don’t assume every regional version of a product is interchangeable.
For example, Rad’s MY2025 charger specifications list 100–240 V and 50–60 Hz input. Your charger may have different limits. A plug adapter alone doesn’t establish electrical compatibility.
Choose a pure-sine-wave station where the bike manufacturer requires it, as Rad does. Our pure sine wave power station guide explains that specification. Don’t use a “boost” headline as the ordinary continuous rating: EcoFlow’s RIVER 2 manual distinguishes its 300 W rated output from its higher X-Boost capability and lists restrictions for that mode. Check normal-operation compatibility rather than relying on overload features.
Keep the supplied charger, or a replacement explicitly recommended for the bike. The CPSC’s micromobility safety guidance recommends manufacturer-supplied or manufacturer-recommended chargers and approved replacement batteries.
The intended connection is the station’s AC outlet, the approved charger, then the bike battery. Don’t modify the battery or charger circuitry, improvise direct-DC adapters, or bypass the charging system because two connectors happen to fit.
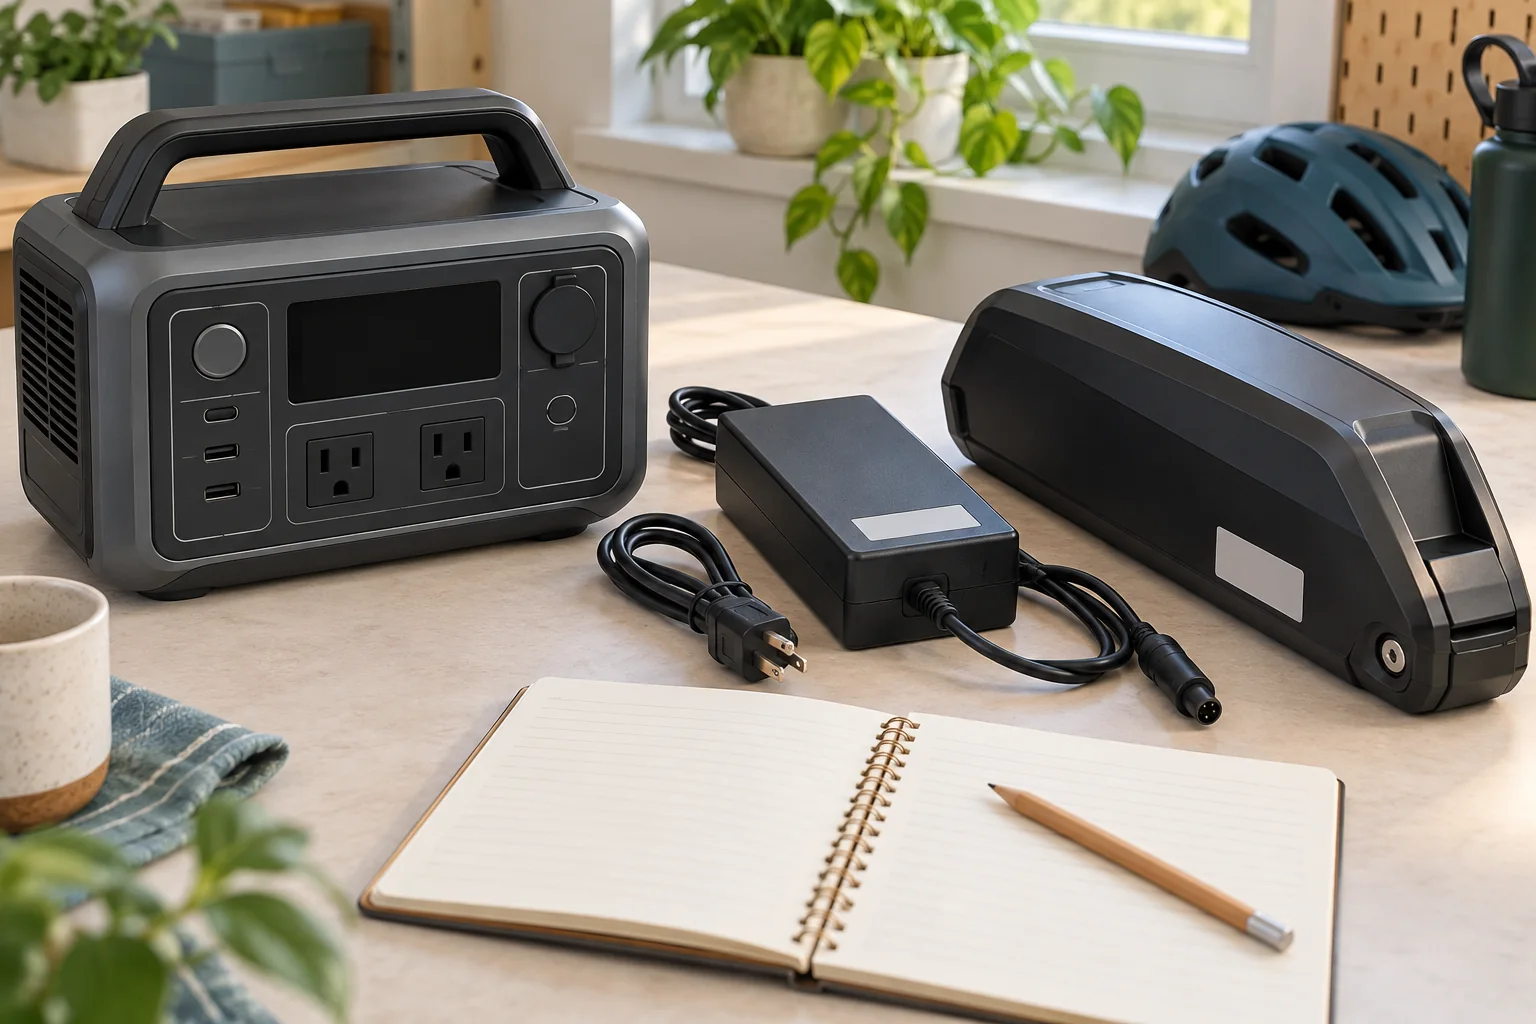
AI-generated planning illustration. Check the real charger input and battery capacity labels; no product specifications are depicted.
Calculate the station capacity for your refill
Battery energy passes through the station’s inverter and the bike charger before reaching the e-bike battery. Budget for losses rather than assuming every advertised station watt-hour reaches the bike.
Use this planning formula:
Required nominal station Wh ≈ bike battery Wh × refill fraction ÷ combined efficiency ÷ usable station fraction
For the examples below:
- Combined efficiency: 75%. This is an illustrative allowance for the overall charging path, including conversion and operating losses. It is not a measured efficiency for your equipment.
- Usable station fraction: 90%. This assumes you budget only 90% of nominal station capacity, leaving 10% unspent. It is a separate planning reserve, not a claimed factory cutoff.
- Refill fraction: the portion you intend to replace. Going from 20% to 100% means 0.80; going from 30% to 80% means 0.50.
Battery gauges and nominal capacities make this an approximation. Cold conditions, aging, station settings, charger behavior, and a long charging session can change the outcome. If usable AC energy is already measured for your station, don’t apply the same station losses again.
Worked example: a 500 Wh battery
For a full refill:
500 × 1.00 ÷ 0.75 ÷ 0.90 = 740.7 Wh, rounded to 741 Wh.
For a refill from 20% to 100%:
500 × 0.80 ÷ 0.75 ÷ 0.90 = 592.6 Wh, rounded to 593 Wh.
For a top-up from 30% to 80%:
500 × 0.50 ÷ 0.75 ÷ 0.90 = 370.4 Wh, rounded to 371 Wh for planning.
These are comparison thresholds under stated assumptions. A station barely above the result leaves little room if those assumptions prove optimistic.
Reference capacities using the same assumptions
| E-bike battery | Full refill | Refill from 20% to 100% |
|---|---|---|
| 400 Wh | 593 Wh | 475 Wh |
| 500 Wh | 741 Wh | 593 Wh |
| 625 Wh | 926 Wh | 741 Wh |
| 750 Wh | 1,112 Wh | 889 Wh |
Values are rounded upward to whole watt-hours. They represent nominal station capacity, not charger output watts or product recommendations.
For two 500 Wh batteries each needing an 80% refill, the same model gives 2 × 500 × 0.80 ÷ 0.75 ÷ 0.90 ≈ 1,186 Wh. Charging them sequentially reduces simultaneous AC demand, but both refills still need energy. Add phones, lights, and other devices to the trip budget separately.
Estimate refills without double-counting losses
Reverse the calculation to compare a station you already own:
Full-equivalent refills ≈ station Wh × usable fraction × combined efficiency ÷ bike battery Wh
A hypothetical 1,024 Wh station charging a 500 Wh battery gives:
1,024 × 0.90 × 0.75 ÷ 500 ≈ 1.38 full-equivalent refills.
That means one modeled full refill plus a partial refill, not two full charges. Whether it covers two riding days depends on how depleted the bike battery becomes each day.
A supervised trial before the trip is more useful than treating this result as a promise. Start with a known station charge level, record the bike’s starting and finishing levels, and check how much station capacity the session uses. Repeat under conditions similar to the trip when practical.
If you measure energy at the charger’s AC plug, that measurement already includes charger-side losses. Account for the station’s losses and reserve separately; don’t divide by the full 75% path factor again. The runtime calculator is useful for steady-load estimates, but an entire charging session can have changing power demand.
Allow enough charging time
A bigger station can store more refill energy without making the original charger faster. Follow the bike maker’s charging-time guidance for the battery and charger combination.
For example, Shimano’s charger specification chart lists the US/Canada EC-E8004-2 at approximately 3.2 hours to 80% and 4.5 hours to full for a 504 Wh battery. The final portion takes a disproportionate share of the session. Those times apply to the listed combination, not every 500 Wh battery.
Don’t calculate your departure time simply by dividing battery Wh by the charger’s maximum DC output. Also check the station’s AC timeout or energy-saving settings so they match the intended charging session. Follow its manual rather than disabling protection features.
Plan solar charging around the station
For solar-supported camping, use panels compatible with the station’s solar input. Continue using the approved e-bike charger at the station’s AC outlet. Match panel voltage, current, connector, and polarity to the station manual; panel wattage alone is insufficient. EcoFlow’s RIVER 2 manual, for example, lists separate solar-input voltage, current, and power limits.
Treat solar as replenishment you need to verify in your actual conditions. A panel’s rated watts aren’t a guarantee of continuous output or a particular daily refill count. Start with the station charged and allow a backup plan if the trip depends on another refill.
See how to charge a portable power station with solar panels for the station-side setup. If you want to recharge the station while it powers the bike charger, confirm that exact input/output combination is supported; our pass-through charging guide covers the questions to check.
Charge safely before and during the trip
Follow the bike, battery, charger, and power-station manuals together. Use a dry, ventilated location within all specified operating-temperature limits. Let equipment outside its permitted charging range return to suitable conditions first. Don’t cover ventilation openings or use damaged cords or equipment. The EcoFlow manual’s safety section illustrates why moisture, ventilation, and temperature restrictions need checking for the station too.
Stay present while charging, never charge while sleeping, and unplug when charging is finished. These are part of the CPSC’s e-bike charging recommendations. A portable outlet doesn’t remove the battery’s charging precautions.
Before leaving, verify that the setup starts reliably, completes the intended refill, and leaves the reserve you planned. Check for error indicators and unexpected shutdowns. If either product rejects the combination, stop and ask the manufacturer rather than trying wiring changes.
Frequently asked questions
Will a 500 Wh power station fully charge a 500 Wh e-bike battery?
Don’t budget for that. With the example’s 90% usable fraction and 75% combined efficiency, it provides roughly 338 Wh to the bike, about 68% of a nominal 500 Wh battery. A partial refill may fit your needs.
Does a 750 W e-bike need a 750 W power station?
The motor rating doesn’t decide charging requirements. Match the charger’s AC input and the bike manufacturer’s inverter guidance, then size station Wh for the refill energy.
Can I charge two e-bikes from one station?
Potentially, if the manuals permit it. For simultaneous charging, the combined charger demand must fit the station’s output and outlet limits. For either simultaneous or sequential charging, budget enough Wh for both batteries.
Can I use the station’s USB-C or 12 V outlet directly?
Only use a charging method explicitly approved by the bike manufacturer. Don’t improvise a cable to the battery. For an AC-charged bike, keep the approved charger in the connection.
Your buying checklist
Choose a station only after you can confirm:
- The approved charger accepts its AC voltage, frequency, and waveform.
- Continuous output and outlet limits meet charger demand and manufacturer guidance.
- Nominal Wh covers your planned refills with clearly stated losses and reserve.
- Recharge options and charging time fit the trip.
- A supervised trial confirms the combination works as intended.
That gives you a useful shortlist based on the battery you actually ride and the charger you actually own.